After activation of your service (shortly after your payment has been confirmed), you can access your service and configure it however you need. To do this, follow these steps:
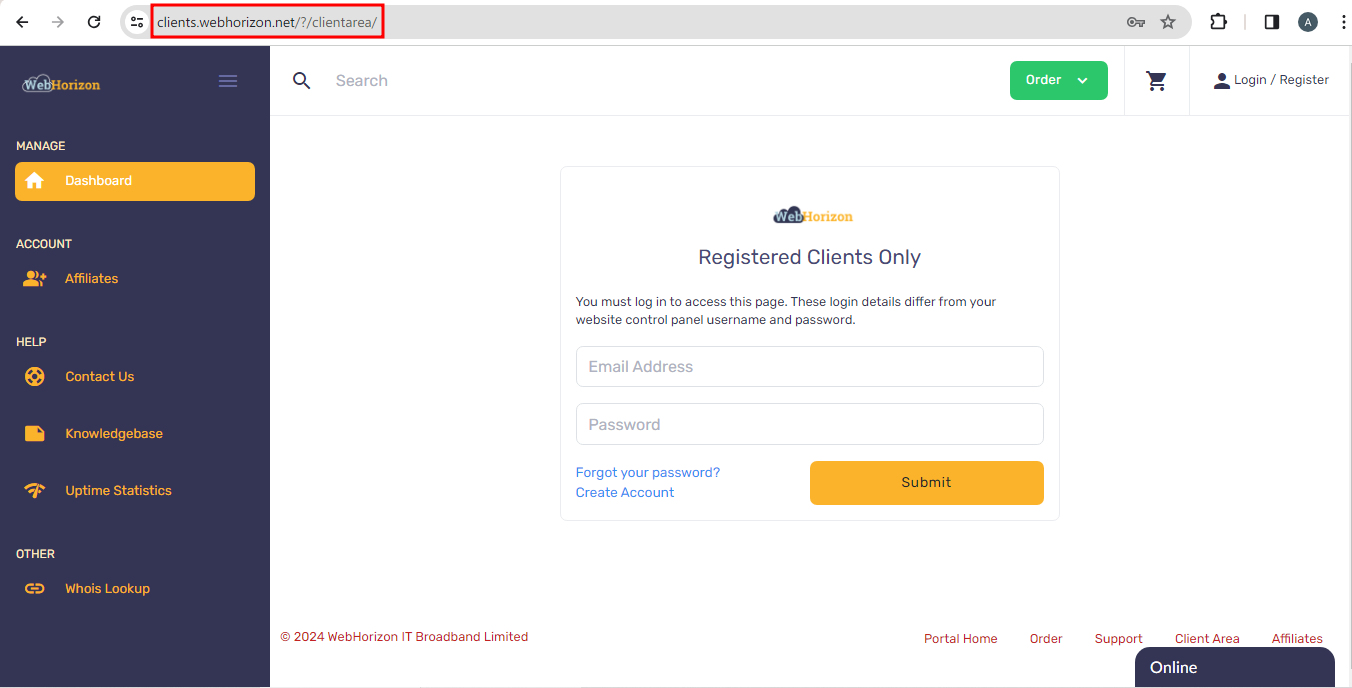
1. Log in to the Client Area using your email and password.
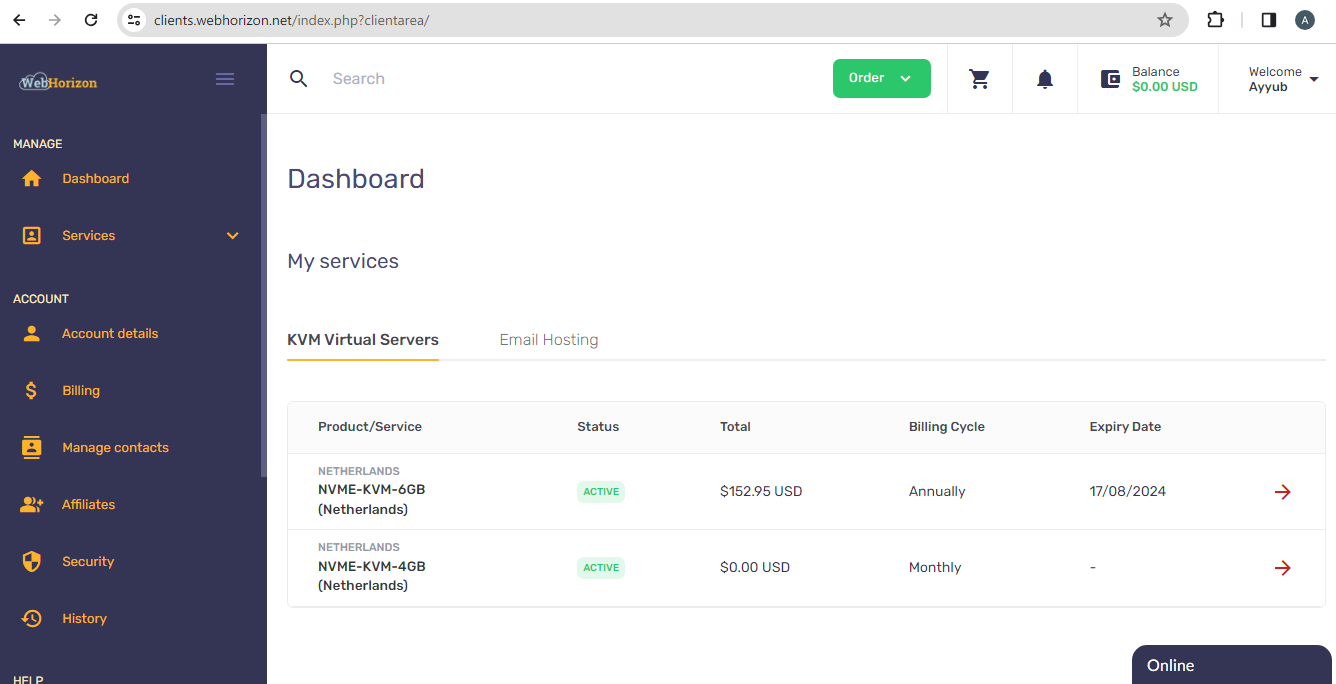
2. After successful login, you can see your services in the Dashboard which are categorized on several tabs based on their types.
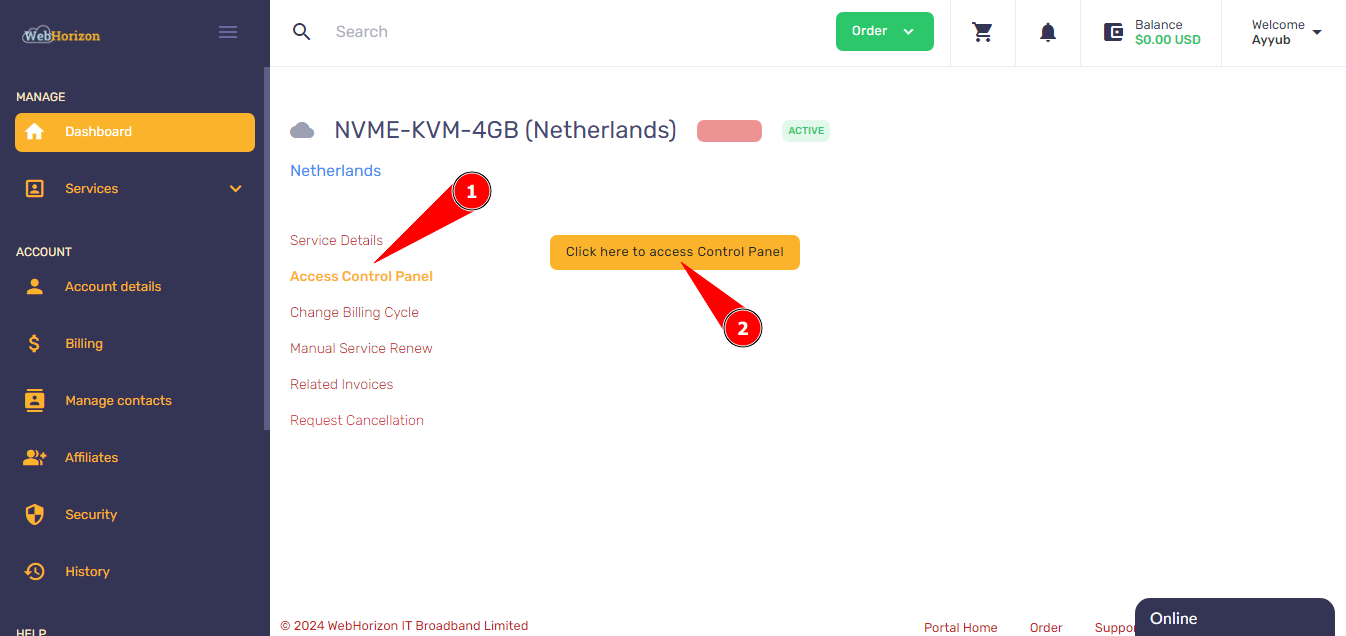
3. Clicking on the listed services will open up the details page of that service. Since we want to access the Control Panel for managing the server, from the left pane, click on Access Control Panel and then click on Click here to access Control Panel button.
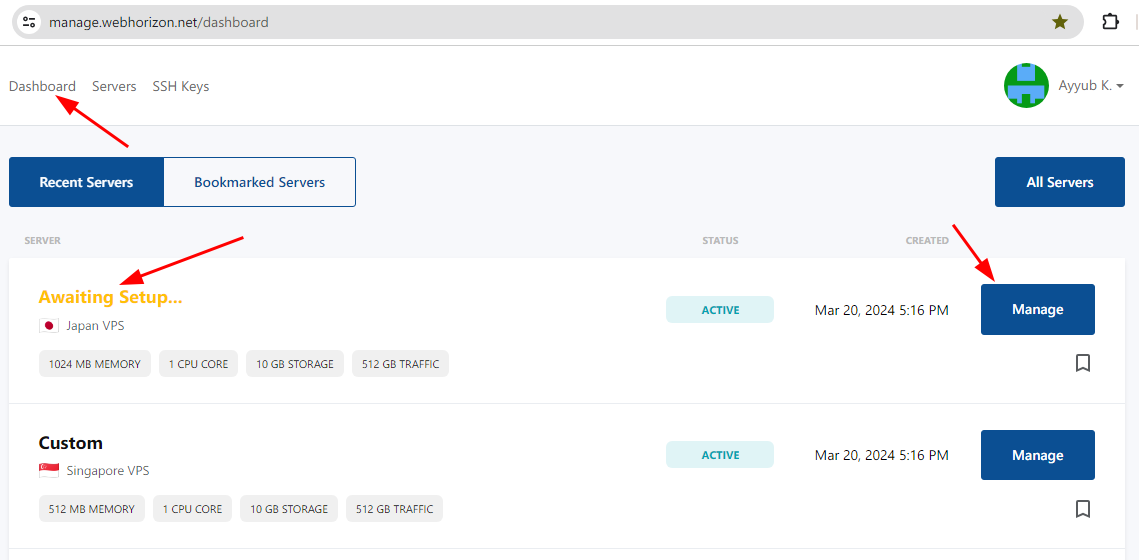
4. You will be redirected to the control panel for managing your servers and if you click on Dashboard button on the top left corner, you can see all the servers which are available for you.
Servers that are marked as Awaiting Setup..., still need your input to be ready for use.
Click on the Manage button so that you continue the setup of your server.
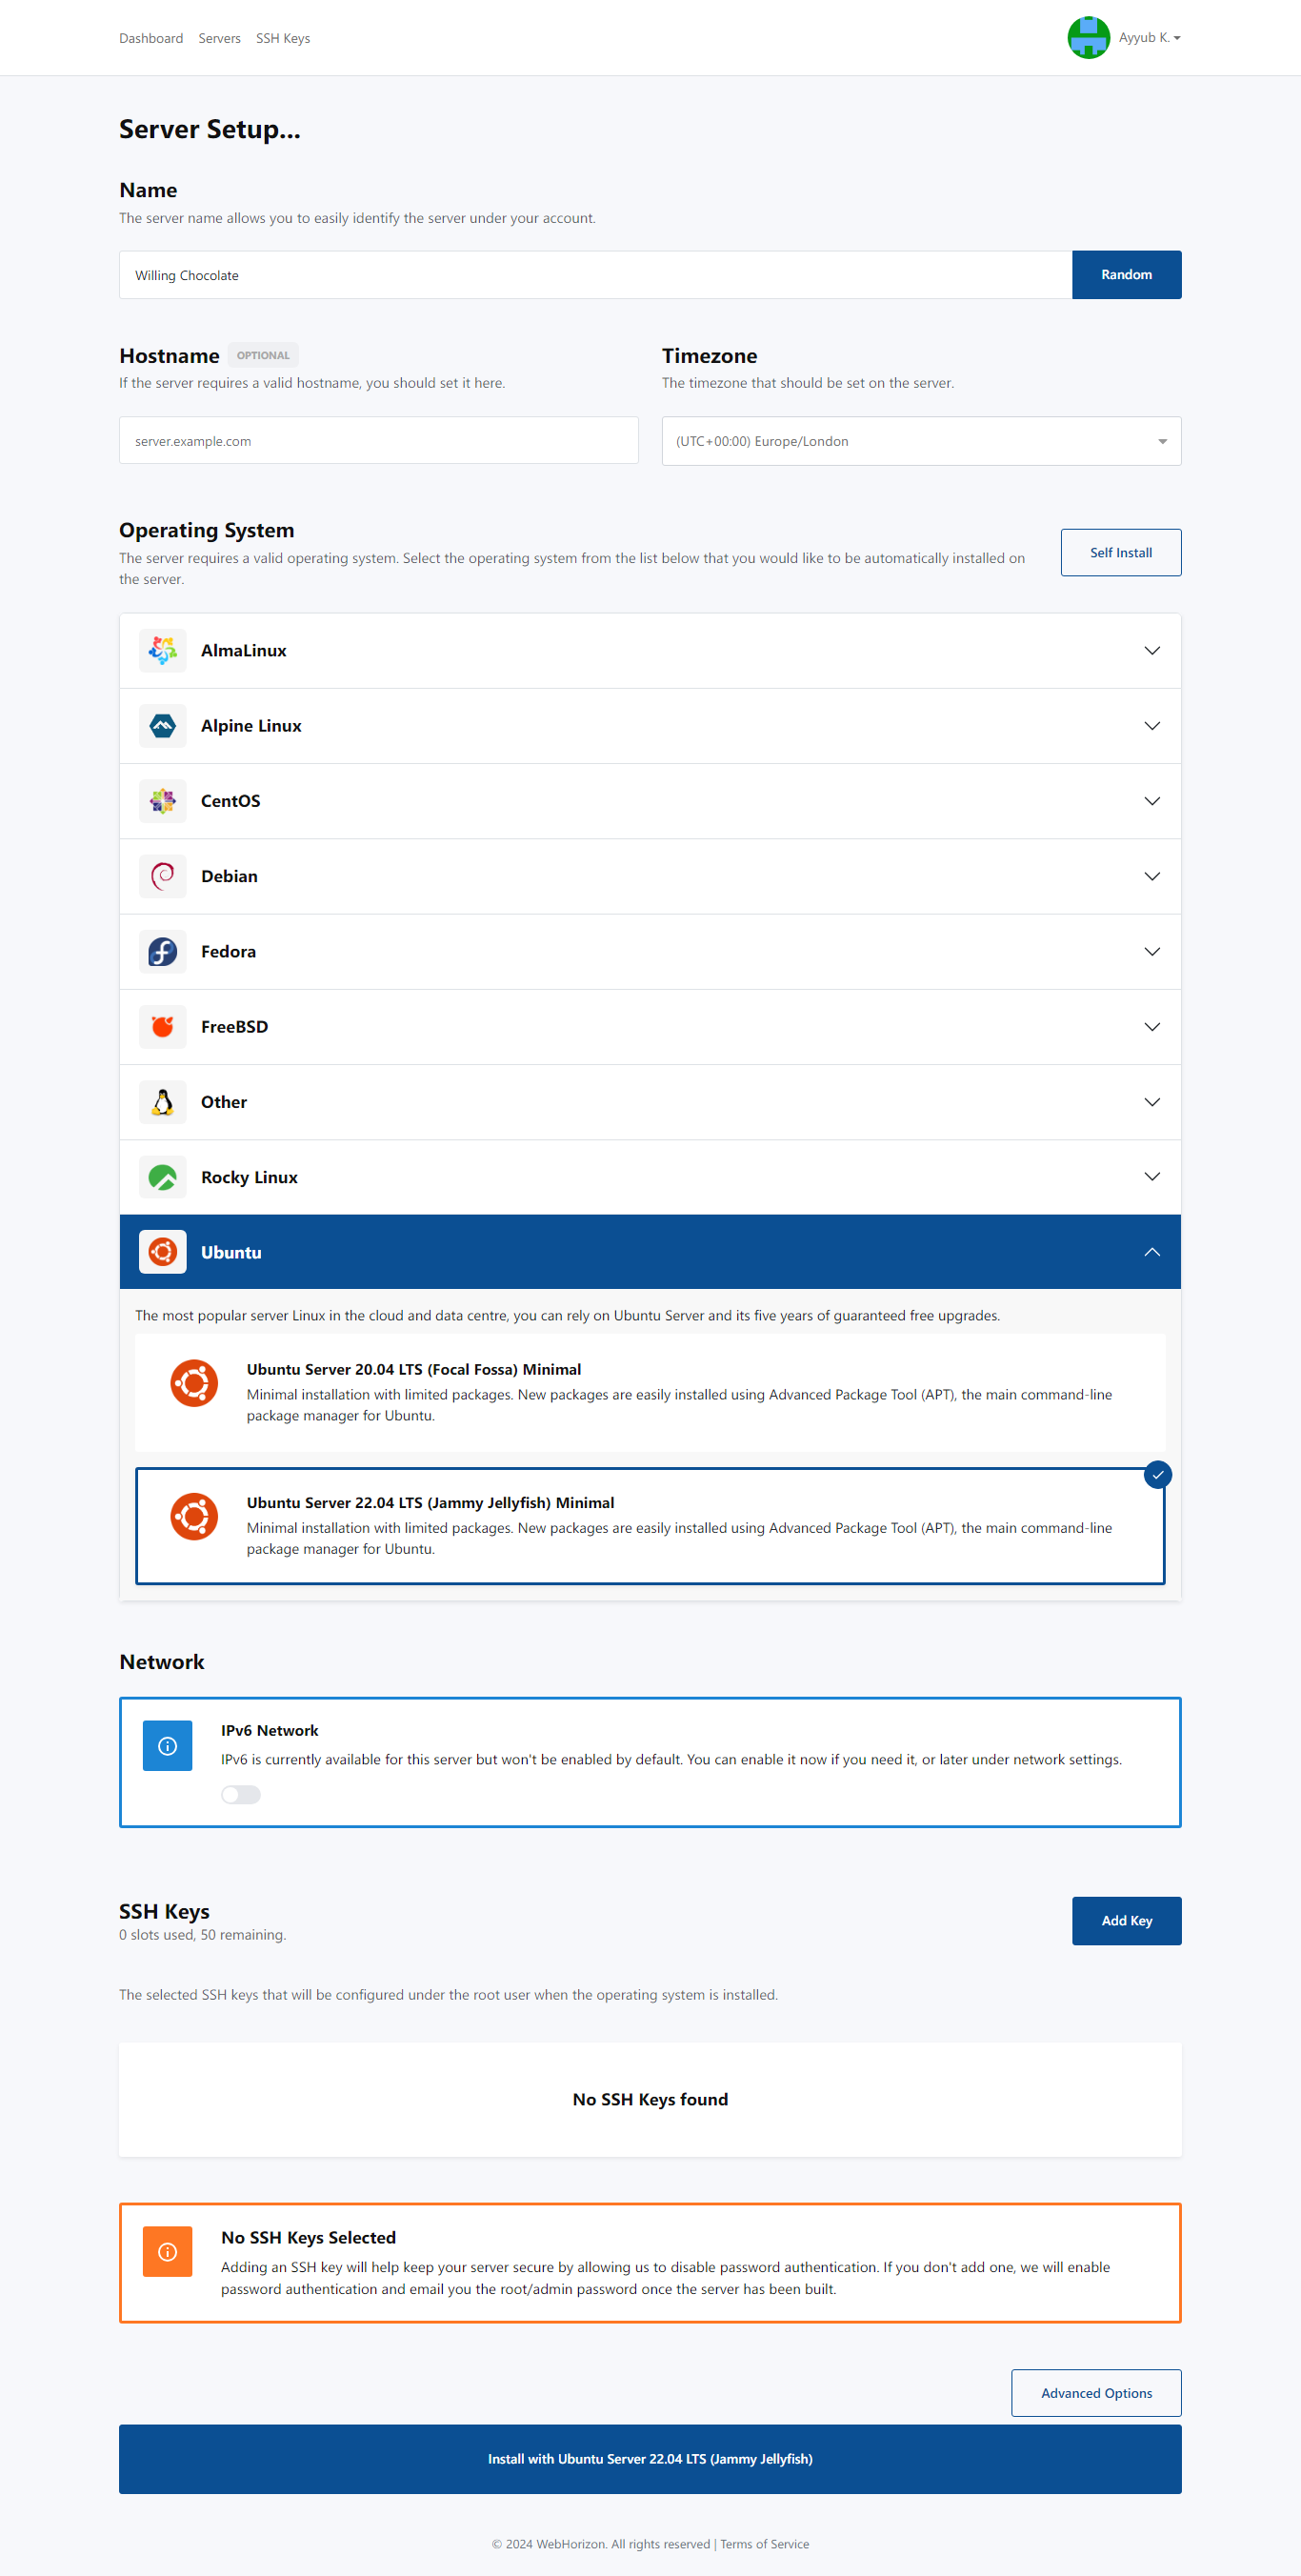
5. In the opened page, you can add a name for your server or use a randomly generated one using Random button and also set a Hostname if you need.
A little down the page, you can choose among the already provided OS templates for installing the Operating System that you need.
You can also choose between adding SSH keys or use password which will be emailed to when installation of OS finishes and finally click Install in the bottom of the page.
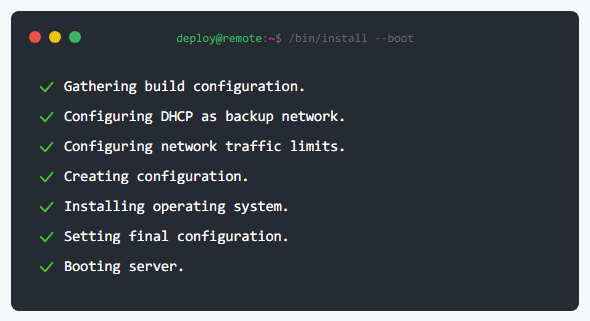
6. In the next page, you will see the log of build process.
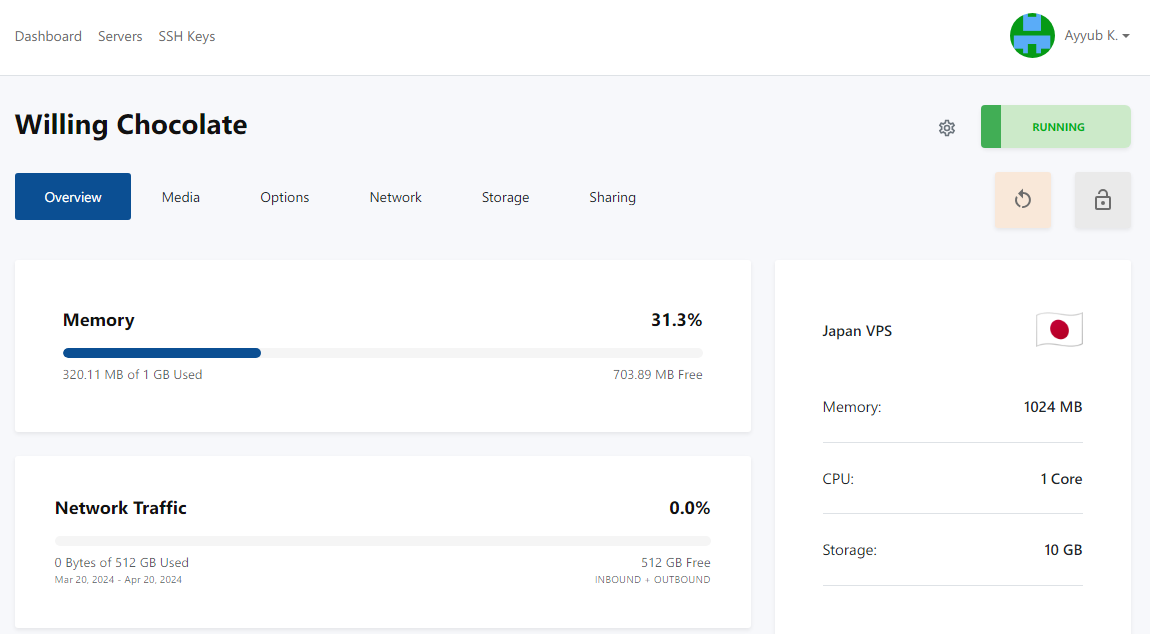
7. And finally, when the build process finishes, you will be redirected to the control panel of your server.
Note: All the required info such as username and password will be emailed to you shortly after.