If you decide to install the OS of your choice using custom ISO installation, chances are that the installation process at some stage asks for drivers (especially disk drivers) because the drivers required for recognition of various hardwares, usually are not embedded in the ISOs. In cases like the this, you can use the drivers that we provide in order to proceed with custom ISO installation.
In the following scenario, we attempt to install Windows 10 (LTSC) using the direct ISO link and introduce disk drivers during the installation process of Windows.
1. First go to the Control Panel for the management of your server which is available at manage.webhorizon.net
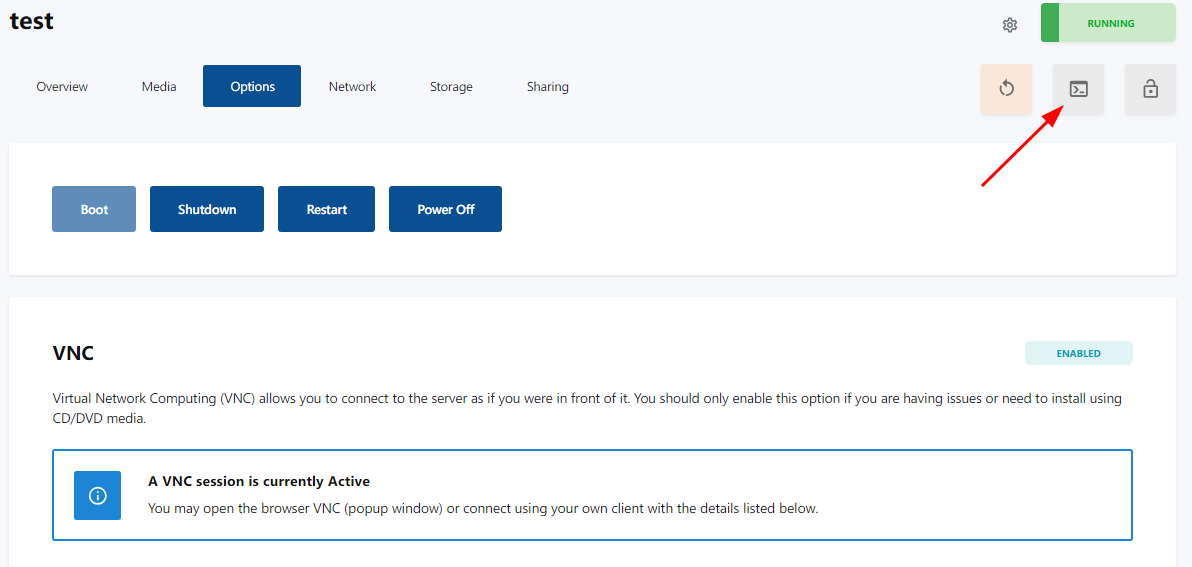
2. We need to enable VNC in order to have graphical access to our server. Go to the Options tab and as shown bellow, click on Enable VNC Access.

3. After a while, the VNC button will appear on the top right corner. Click on it so that you can have access to your server.
4. Next we need to mount the custom ISO using its direct link. Click on the Media tab and then Custom CD/DVD.

5. Before going any further, we should change the boot order of the server such that it prioritizes the boot from the CD/DVD (custom ISO). For doing that, as shown bellow, choose CD/DVD and then click Apply.

6. Now we can enter the direct link of the custom ISO that we want to install and then click on the Insert button.
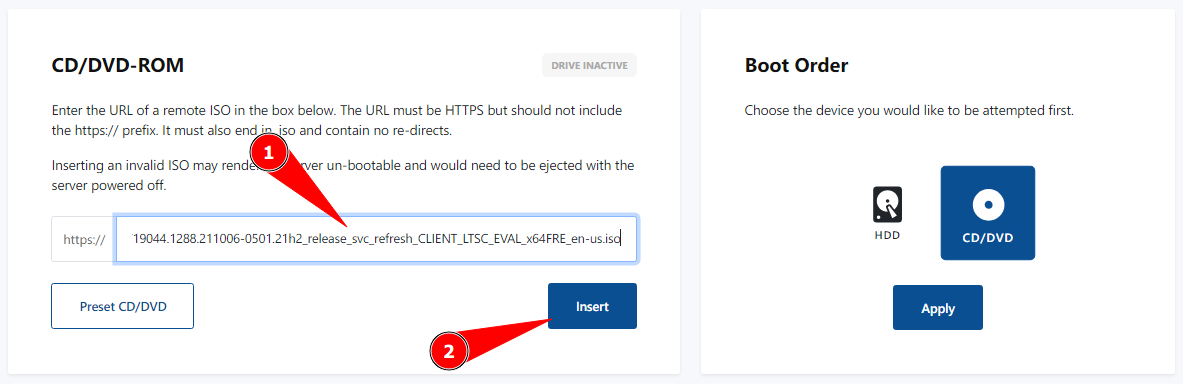
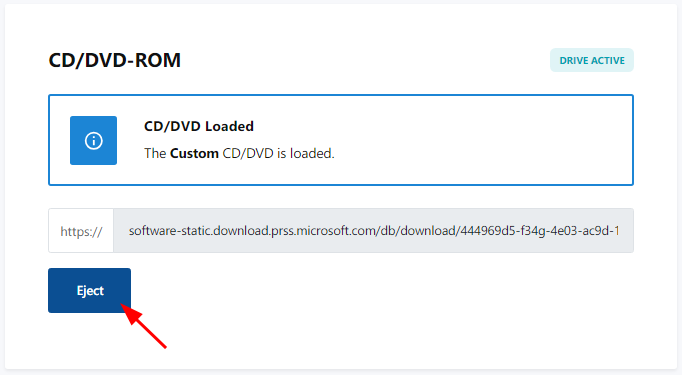
If the link is valid, the image will be mounted as shown in the following screenshot.

7. At this stage you can Restart your server so that it boots from the custom ISO.

8. Next, you continue with the installation process until you reach to the stage that installation process asks for the drivers.

9. At this stage, we need to eject the custom ISO (it's OK to interrupt the installation process at this stage) and mount an ISO which has the necessary drivers in it.
10. Click on the Preset CD/DVD so that you can use the ISOs that are already provided by us.

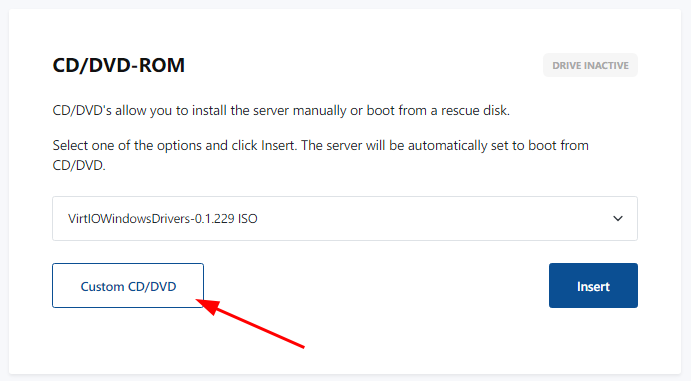
11. From the list of available ISOs, choose VirtIOWindowsDrivers and then click on the Insert button.

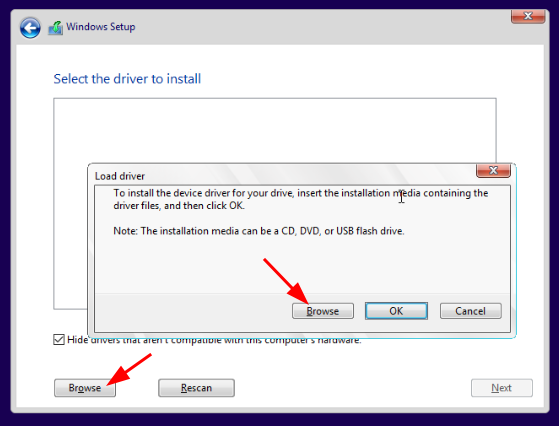
12. Now head back to the VNC window and click on the Load driver button.

13. Using the Browse button, you can open a folder selection dialog and look for appropriate drivers.
14. Under the loaded ISO disk drive, look for vioscsi folder (or any driver that you need) and in its subfolders, look for the version of the Windows that you want to install and then the appropriate CPU type and finally click OK.

15. If everything have been done properly (especially the type of the driver that you need), installation process will look for appropriate drivers and shows a list of applicable ones. You can choose the one that you need and then click Next.

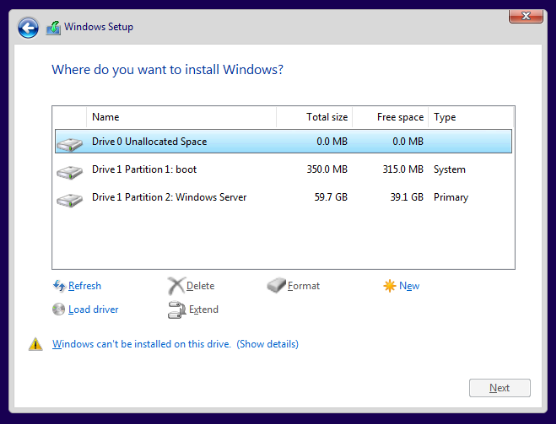
16. If the installation process can successfully load the appropriate drivers (in this case, disk drivers), you will see that the disk drives are listed.
17. Now we need to eject the VirtIOWindowsDrivers ISO that we have mounted and remount the custom ISO that has direct link.

18. Again, click on Custom CD/DVD so that the required fields for entering the link and insertion shows up.
19. Enter the direct link of the custom ISO that you were installing and then clicking on the Insert button.
20. You can now go to the VNC window and continue with the installation process.