After activation of your service, you will receive an email with details on how to add the necessary DNS records to your domain at your DNS provider. (who operates your nameservers)
Note: The procedure on how to add the DNS records may differ from provider to provider but the general idea is the same; in this article, we use Cloudflare as the DNS provider.
1. Go to the management panel of your DNS provider.
2. We need to add two MX records, and two TXT records:
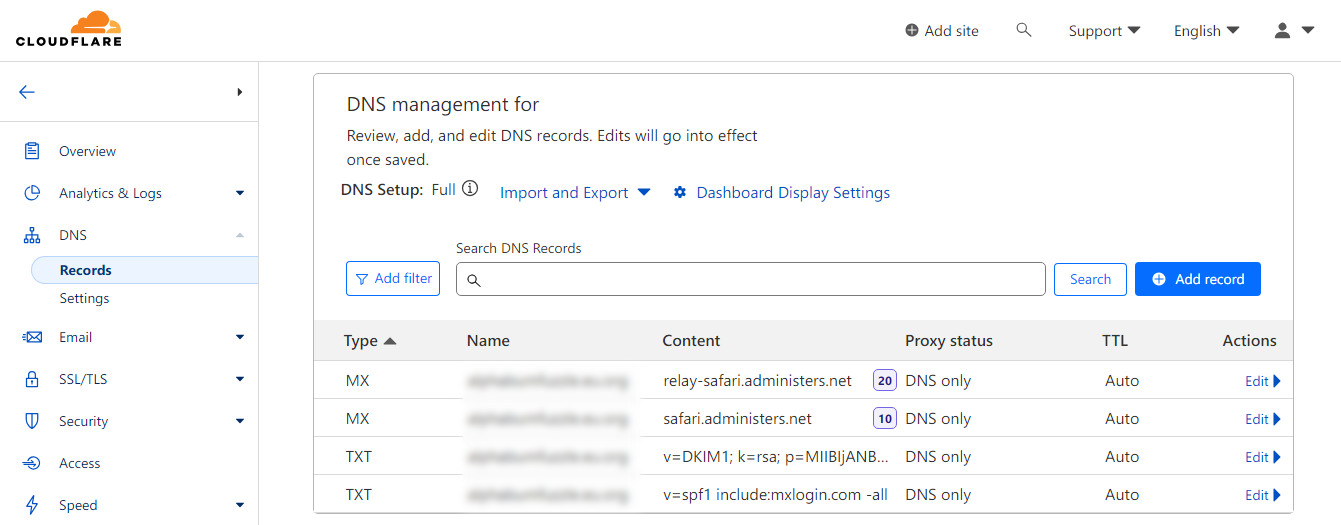
a. Add a record of type MX as a root (@ symbol) with the value of safari.administers.net and the Priority of 10.
b. Add another record of type MX as a root (@ symbol) with the value of relay-safari.administers.net and the Priority of 20.
c. Add a record of type TXT as a root (@ symbol) with the value of v=spf1 include:mxlogin.com -all which will act as the SPF Record.
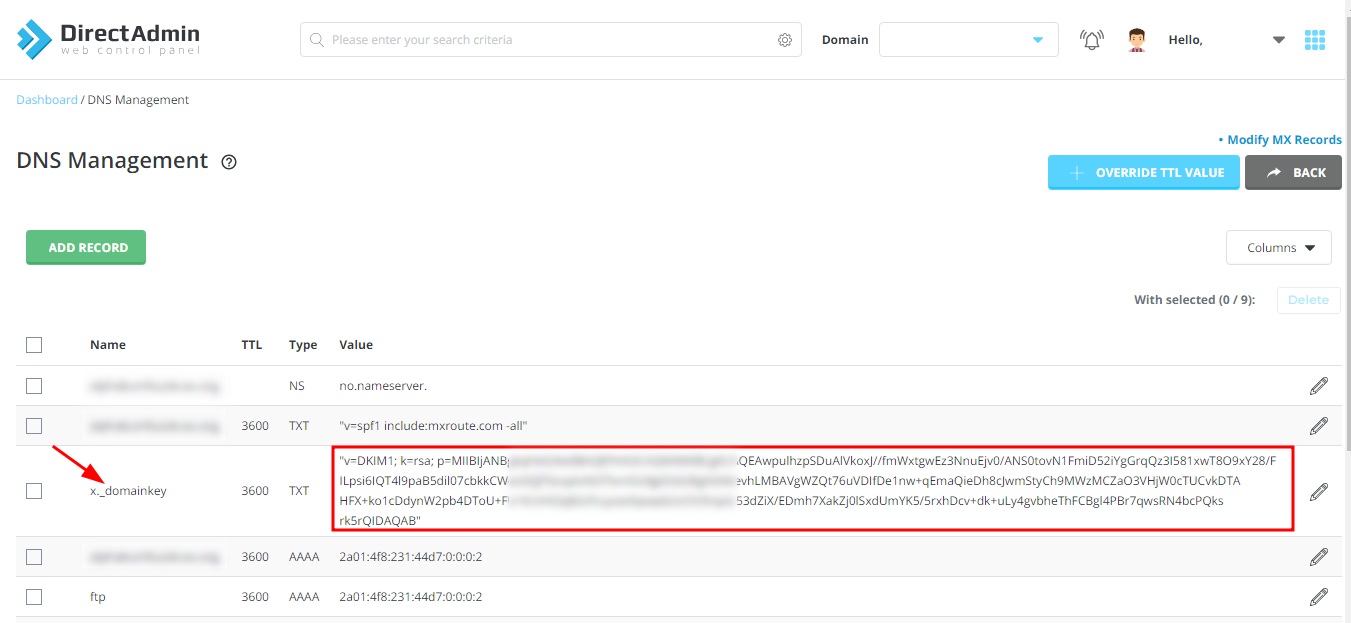
d. We need to add another record of type TXT as a root (@ symbol) but this time its value is unique for every domain (this will act as the DKIM Record).
To get the value, go to the Management Panel of your service (DirectAdmin panel), in the Account Manager section, choose DNS Management. In the opened page, you can see various records one of which is named x._domainkey. The value of x._domainkey is what we need to add as the value of the last TXT record.
Note: Do not copy the first and last quotation marks (").
Note: In the end, you should have four DNS records as shown in the following screenshot.